The Sketch That Saved a $4,000 Mistake: How to Plan Your Own Landscape Design
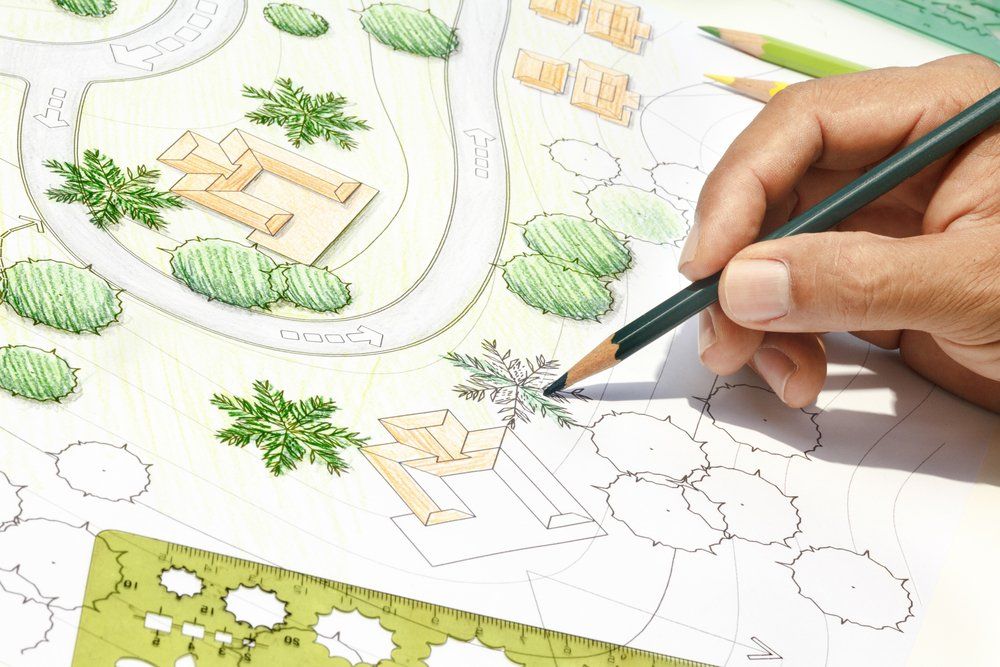
Most homeowners who try to DIY their yard design don't fail because they chose the wrong plants. They fail because they skip the planning step entirely — they head straight to the nursery, load up a truck bed with whatever looks good that day, and start digging. The result is a yard that looks fine for one spring, then turns into a patchwork of gaps and overgrown shrubs within two years.
Do-it-yourself landscape design doesn't have to go that way. With the right process and a few free tools, you can produce a workable plan that guides every plant purchase and keeps your yard looking intentional for years. Here's exactly how to do it — and where the line is between what you can handle yourself and when a professional saves you money in the long run.
Start With Paper, Not Plants
The single most important rule of DIY landscape design: draw your yard before you buy anything.
You don't need design software or drafting skills. A simple hand-drawn sketch on graph paper works fine. Use one square per foot, measure your yard's length and width, and mark the fixed features — house footprint, driveway, fence lines, existing trees, any utilities you know about.
Then add the information that will actually drive your plant choices:
- Sun and shade patterns. Walk the yard at 9 a.m., noon, and 4 p.m. and mark which areas get full sun, partial shade, and deep shade. Most plants fail in Texas because they're placed in the wrong light, not because of poor care.
- Drainage patterns. Note where water pools after a rain and where it drains quickly. A low spot that holds water for more than a day needs a drainage solution designed into the plan — not a plant that will struggle in wet soil.
- Soil type. Conroe and Montgomery County yards often have heavy clay with sandy pockets near foundations. Clay holds water; sandy soil dries fast. Both affect plant selection and irrigation needs.
This sketch becomes your design map. Every decision you make from here gets tested against it.
Did You Know? Texas A&M AgriLife Extension's Earth-Kind Plant Selector lets you search for plants specifically suited to your zip code, filtering by sun exposure, soil type, drought tolerance, and mature size. It's one of the most useful free tools available for Texas homeowners planning a DIY design.
Define Zones Before You Pick Plants
Once your site sketch is done, divide your yard into zones based on function. This is the step most DIYers skip — and it's why so many yards end up feeling like a random collection of plants rather than a cohesive space.
Common zones for residential yards in the Conroe area:
- Curb appeal / street-facing zone. This is your first impression. It needs to look polished year-round and hold up through summer heat with minimal intervention.
- Entertainment zone. If you have a patio, deck, or area where people gather, the plants around it need to be scaled to the space — nothing that will overgrow and crowd the area within two seasons.
- Low-traffic / natural zone. Side yards and back corners can handle lower-maintenance plantings, including native species that spread and fill in over time.
- Problem zones. Any spot with drainage issues, full afternoon sun against a west wall, or compacted soil near a driveway needs a targeted solution, not a general plant pick.
Sketching these zones onto your paper plan keeps your plant list organized. You shop by zone instead of by impulse, which cuts cost and prevents the most common sizing mistakes.
Pro Tip: When measuring for plants, look up the mature size, not the nursery pot size. A Texas Sage that's 8 inches tall in a 1-gallon container will reach 4–5 feet wide at maturity. Spacing plants for their mature footprint is one of the biggest differences between a professional-looking design and one that needs constant hacking back.
Free Design Apps Worth Using (and Their Limits)
Several free and low-cost apps can help you visualize your plan before anything goes in the ground. The calendar notes two worth knowing:
iScape lets you photograph your yard and layer plants, hardscaping, and lighting elements over the image. It's useful for visualizing scale and getting a general feel for how a design might look. The plant library is large, though not all entries are filtered for Texas climate.
Home Outside (by landscape architect Julie Moir Messervy) is simpler and more focused on layout. It works like a digital sketch pad and is particularly good for planning bed shapes and pathways.
Both apps help with the visual side. Where they fall short is site analysis — neither one can tell you that your west-facing bed will hit 105°F in August, that your soil drains poorly, or that a particular plant will outgrow its space in three years. That judgment comes from local experience.
Did You Know? According to Texas A&M AgriLife Extension, about 25% of urban water use in Texas goes to landscape irrigation — much of it applied to plants that aren't well-matched to their site conditions. Proper planning upfront is one of the most effective ways to reduce both water use and maintenance costs over time.
Choosing Plants for Southeast Texas
Once your zones are defined and your site conditions are mapped, plant selection gets much simpler. You're no longer browsing — you're matching.
For Conroe and the greater Houston area, a few principles hold across most yard types:
Prioritize adapted plants over trendy ones. Gulf Coast Muhly grass, Texas Sage, Wax Myrtle, and Yaupon Holly are proven performers in our heat and humidity. They look good, require little supplemental water once established, and don't need constant pruning to stay in scale.
Layer for visual depth. A well-designed bed has a back layer (taller shrubs or small trees), a mid layer (medium shrubs and ornamental grasses), and a front layer (low groundcovers or perennials). This layering approach gives the design structure in every season, not just when things are blooming.
Match bloom times across zones. If everything in your curb appeal zone blooms in April and goes dormant by June, the front yard looks great for six weeks and sparse for the rest of the year. Stagger your plant selections so something is always providing color or structure.
For landscape installation, the rule is the same whether you're DIYing or hiring it out: the right plant in the right place beats a more expensive plant in the wrong one every time.
Pro Tip: Before finalizing your plant list, check mature sizes against your zone sketch one more time. Then add a 20% buffer to your plant budget for the inevitable swap when your first-choice plant isn't available at the nursery. Flexibility on specific cultivars while staying consistent on size and water needs keeps the design intact even when sourcing gets difficult.
When DIY Planning Hits Its Limits
A hand-drawn plan and a solid plant list can take you a long way. But there are a few situations where DIY planning reliably leads to expensive problems:
Drainage. If your site sketch shows low spots, consistent pooling, or any area that stays wet for days after rain, the drainage solution needs to be designed before anything else goes in. Installing plants over a drainage problem doesn't fix the problem — it just gives you plants that will eventually fail. A professional site assessment here is usually cheaper than replacing dead plants twice.
Grading and slope. Yards with a significant slope toward the house foundation need careful attention to water flow. Grading mistakes are costly to correct after installation.
Large-scale hardscaping. Patios, walkways, and retaining walls all require proper base prep and drainage planning. Skipping those steps leads to surfaces that crack, shift, or flood within a few seasons.
For projects that stay in the "plants and beds" category, a strong DIY plan is completely workable. For anything involving drainage, grading, or hardscaping, getting a professional set of eyes on the site before you start saves money. Our landscape design services include a free site consultation — it's a low-commitment way to get a second opinion on your plan before it becomes a problem.
Once your design is solid and your beds are in, a consistent landscape maintenance routine is what keeps it looking the way it did on day one.
Frequently Asked Questions
How do I start a DIY landscape design from scratch? Start with a hand-drawn sketch of your yard to scale, marking sun exposure, drainage patterns, and fixed features like driveways and existing trees. Define zones by function before choosing any plants. This planning step prevents the most common and costly DIY mistakes.
What are the best free apps for DIY landscape design? iScape and Home Outside are two solid options for Texas homeowners. iScape lets you layer plants over photos of your yard; Home Outside is better for sketching layouts and bed shapes. Neither replaces a site-specific drainage or soil assessment.
What plants work best for DIY landscaping in Conroe, TX? Adapted Texas natives like Gulf Coast Muhly grass, Texas Sage, Wax Myrtle, and Yaupon Holly perform well in the heat and humidity of Southeast Texas. The Texas A&M AgriLife Earth-Kind® Plant Selector is a free tool to find plants rated for your specific zip code.
How far apart should I space plants in a DIY landscape design? Space plants based on their mature size, not their nursery pot size. Most homeowners plant too close together and end up with overcrowding within two to three years. Check the mature width listed on the plant tag and use that number for spacing.
When should I hire a professional instead of DIYing my landscape design? DIY works well for beds, plant selection, and layout planning. Hire a professional when your project involves drainage issues, significant grading, retaining walls, or large hardscaping — mistakes in those areas are expensive to correct after the fact.